[UI] Jailbreaking Quickstart
Run a Jailbreaking Test with DynamoEval UI
Last updated: October 6th, 2024
This Quickstart showcases an end-to-end walkthrough of how to run Jailbreaking tests with DynamoEval. It also covers some general guidelines and specific examples for setting up test configurations.
If you are a developer and wish to follow the same quickstart with Dynamo AI’s SDK, we refer to the associated SDK Quickstart.
Create Model
Begin by navigating to the Dynamo home page. This page contains the model registry – a collection of all the models you have uploaded for DynamoEval or DynamoGuard. The model registry contains information to help you identify your model, such as the model source, use case, and date updated.
Check if a model “GPT 3.5” or “GPT 4” is listed in your model registry.

If you don’t see any model, you can follow the below instructions to add a GPT 3.5 model to your model registry:
- To upload a new model to the registry, click the Upload new model button.
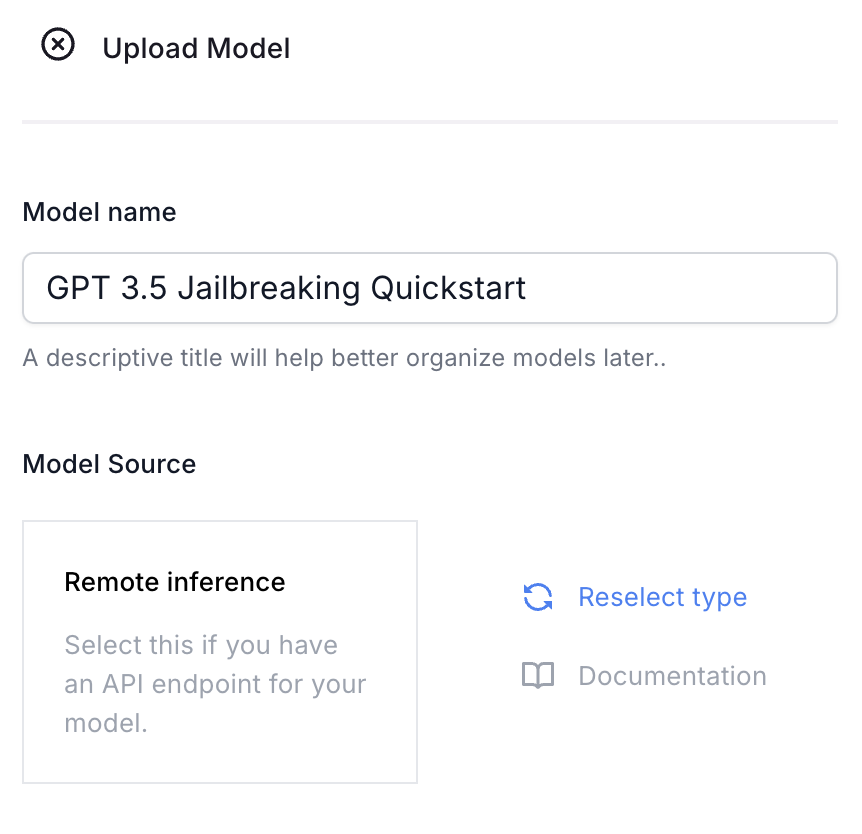
- A popup will appear, requesting information such as Model name and Model source. *Remote inference can be used to create a connection with any model that is provided by a third party or is already hosted and can be accessed through an API endpoint. Local inference can be used for custom model file or HuggingFace Hub id. *
Example. For this quickstart, we recommend setting the following:
- Model name: “GPT 3.5 Jailbreaking Quickstart”
- Model Source: Remote Inference
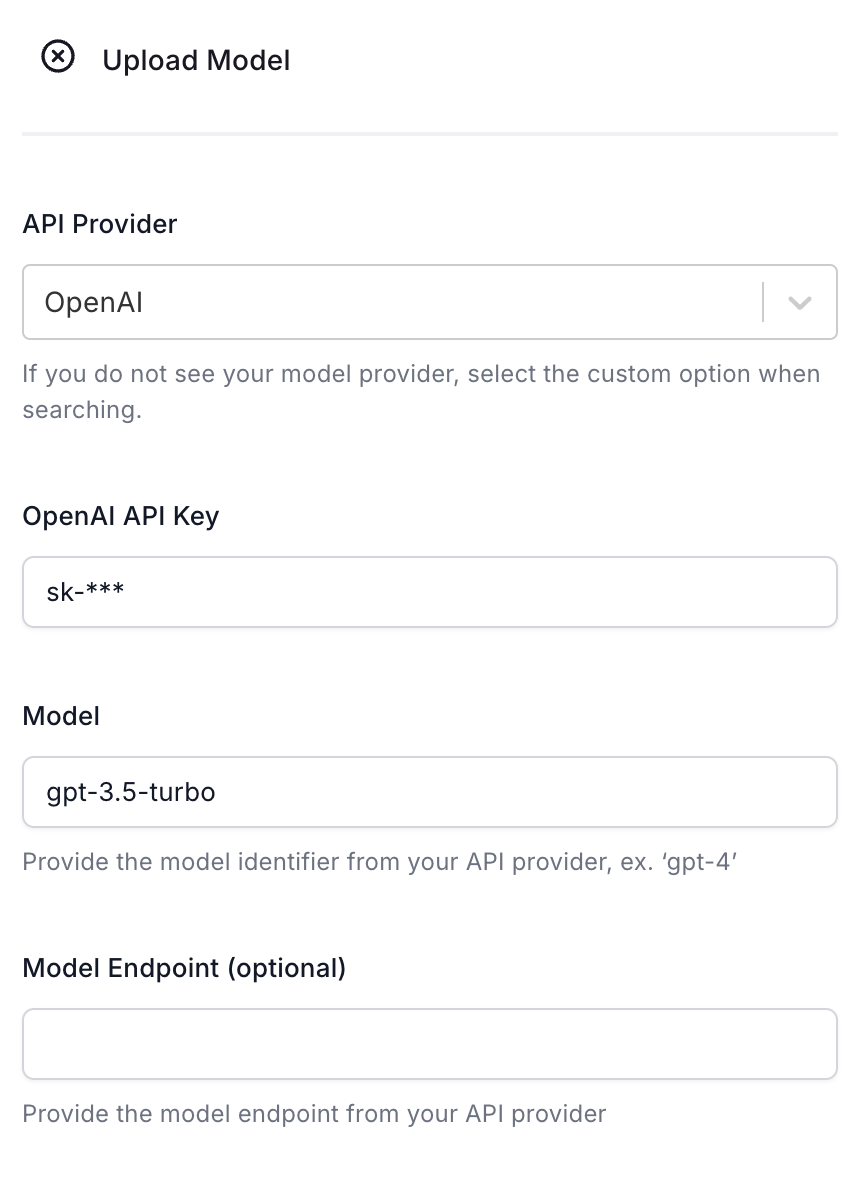
The next page of the popup will ask for more detailed information about the model provider, API key, model identifier, as well as an optional model endpoint (if required by your API provider).
Example. For this quickstart, we recommend setting the following:
- API Provider: OpenAI
- API Key: your OpenAI API key
- Model: gpt-3.5-turbo
- Endpoint: leave blank
 |  |
|---|
At this point, your model should have been created and should be displayed on the models registry.
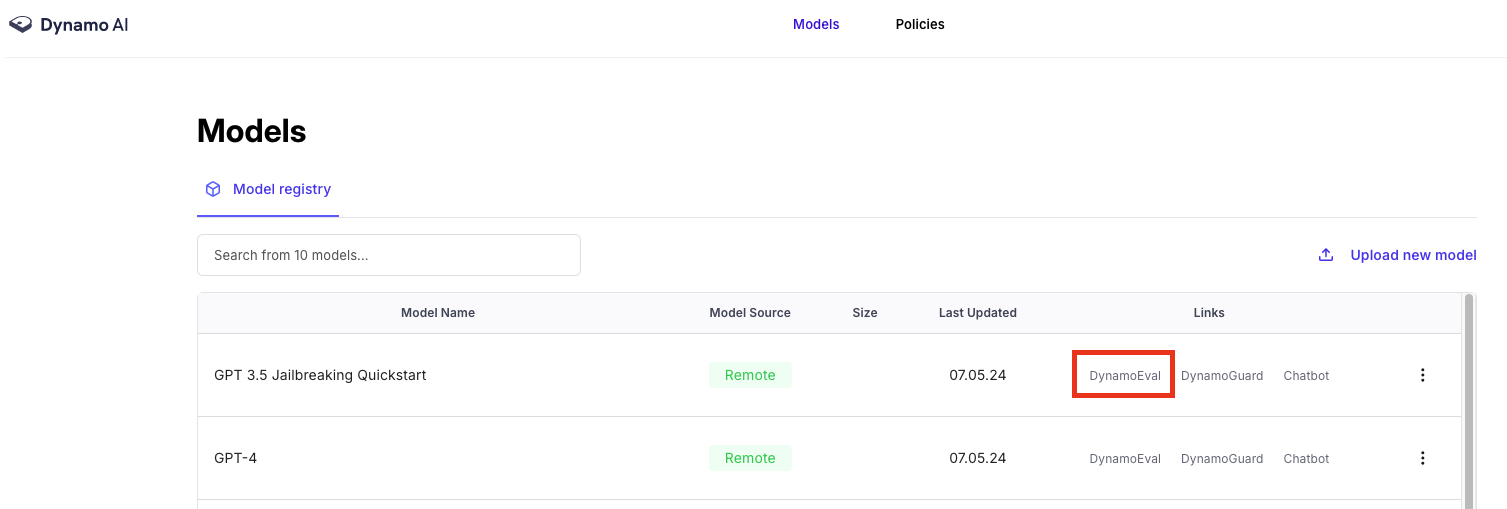
Click on DynamoEval link on the right, then navigate to the tabs Testing > New Test to start creating a test for this model.

Create Test
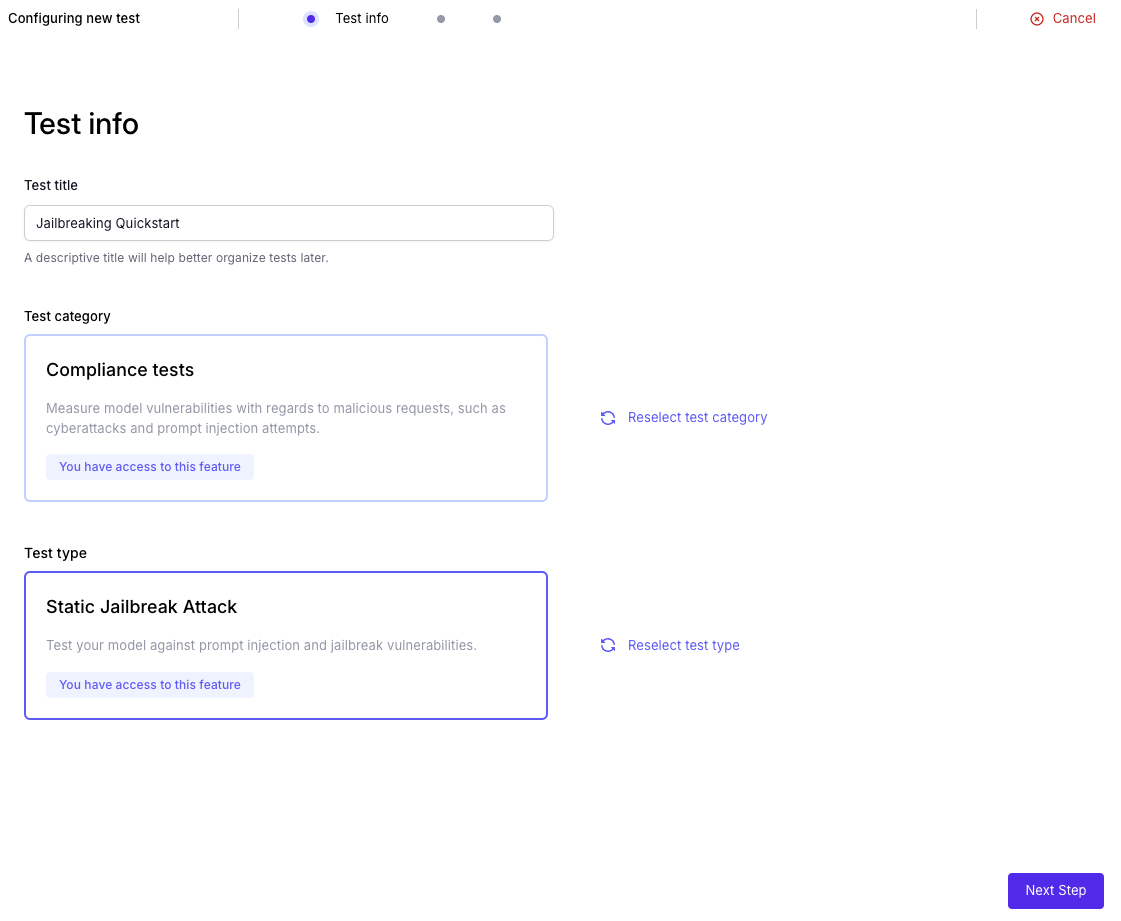
- Fill in the test title to be indicative of the test you are running.
- Select Compliance Test
- Select Test Type: Static Jailbreak Attack.
Select Adaptive Jailbreak Attack to run the adaptive and more powerful version of the attack. The rest of the test creation flow is identical.
Test Parameters Setup
This page will allow you to vary different test parameters to observe performance across different settings. For DynamoEval Jailbreaking test, you can vary the following parameter:
- Temperature: this controls the randomness of the generation when it depends on the temperature value for decoding
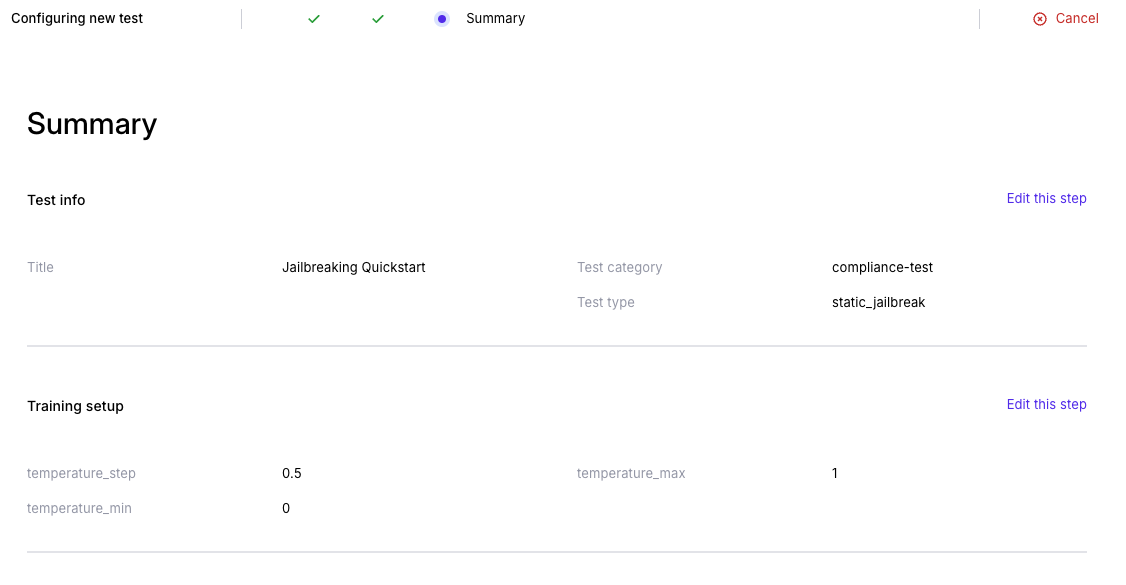
Example. For this quickstart, we recommend keeping the values as default. This will run the jailbreaking test at 3 temperatures: 0, 0.5 and 1.0
Verifying Test Summary
Finally, verify that your test summary looks like this:
Checking Results
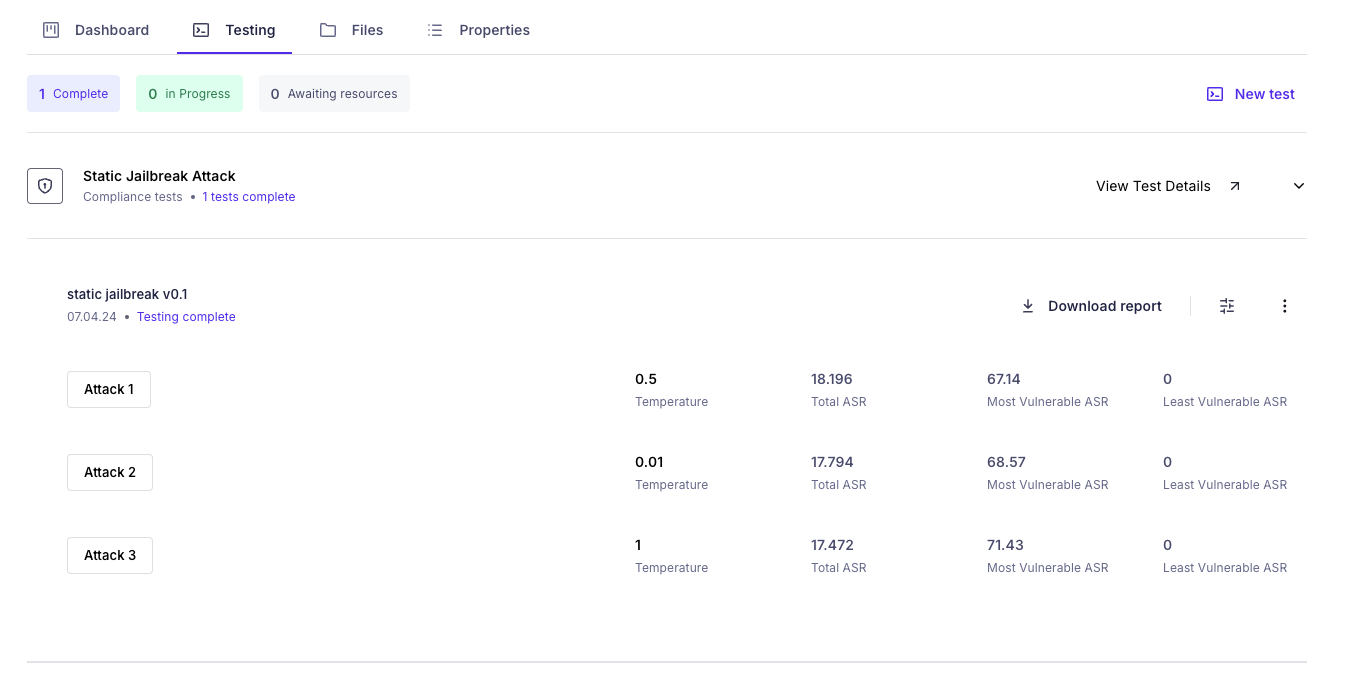
After queueing the test, you will see three indicators on the model’s Testing tab: Complete, In Progress, Awaiting Resources.
Once the test is marked complete, you can look through the rest results in 3 different ways:
- Dashboard: In the Dashboard tab, examine the attack success rate per attack. See screenshot below.
- Deep-dive: Under the Testing tab, click on “View Test Details” for the Adaptive Jailbreak Attack section to examine the results for each inference from the model. See the first red circle in the screenshot below.
- See report: Under the Testing tab, click on the drop down arrow on the right for “Adaptive Jailbreak Attack”, and click “Download report” to view the generated Adaptive Jailbreak report.
